A thorough walk-through of asphalt paving installation: site evaluation, base preparation, hot mix placement, compaction, and finishing touches—plus what to expect and mistakes to avoid.
Share:
Summary:
Professional asphalt paving installation starts before any equipment arrives. The site evaluation determines everything that follows, from drainage planning to base thickness to how your finished driveway or parking lot will perform.
We visit your property to assess soil conditions, existing drainage patterns, and how water currently moves across the area. In Polk County, that means understanding how Central Florida’s sandy soils behave and where afternoon thunderstorms will send runoff. We’re looking for low spots that collect water, checking soil stability, and identifying any underground utilities that could complicate the work.
This evaluation shapes the project plan. We calculate how much excavation is needed, what base materials work best for your soil type, and how to grade the surface so water flows away from buildings instead of pooling on your new pavement. We’re also determining the right asphalt thickness based on whether you’re paving a residential driveway or a commercial parking lot that handles delivery trucks.
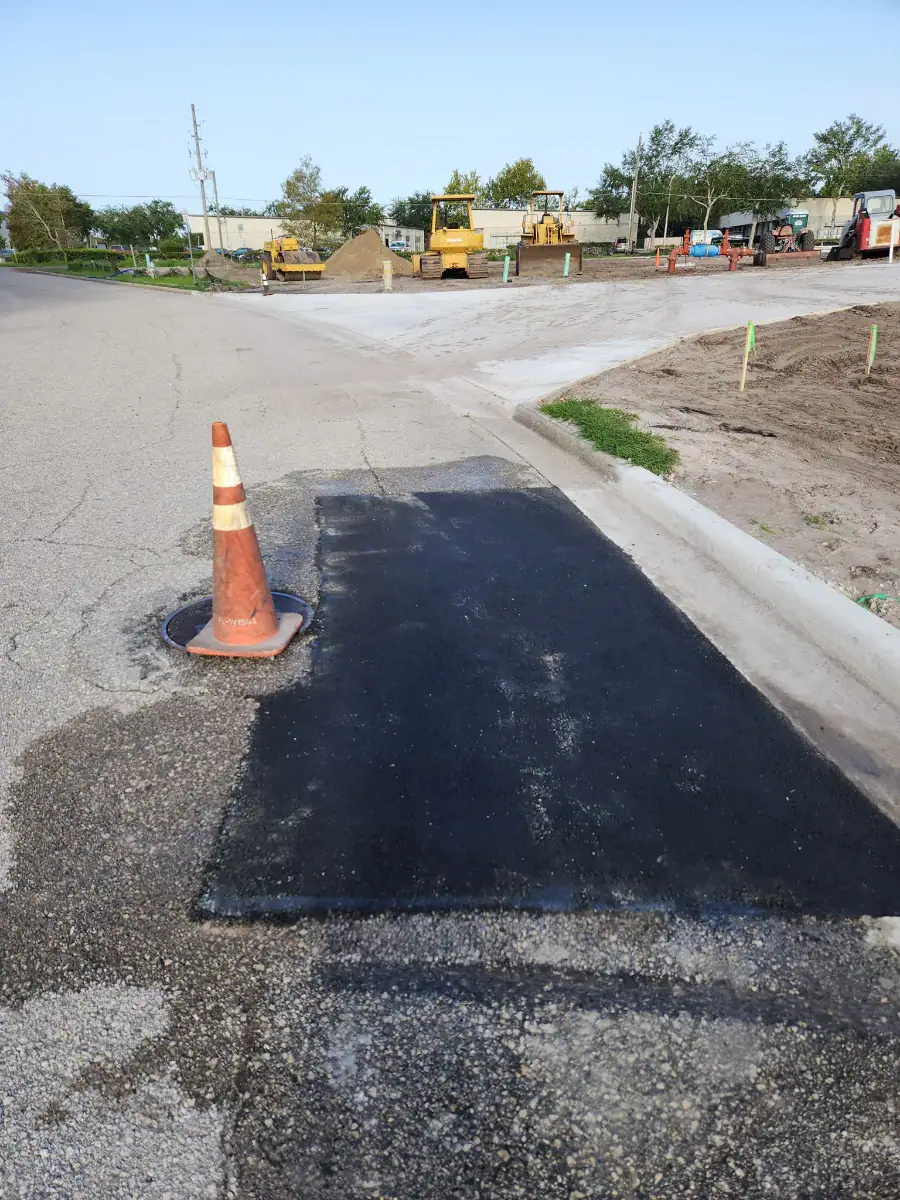
Water is asphalt’s biggest enemy, and Florida gets more of it than most places. When contractors skip proper drainage planning during the paving process, you end up with standing water that seeps into cracks, weakens the base layer, and turns minor issues into major failures.
Proper drainage starts with grading. Your asphalt surface needs a minimum slope of one to two percent to move water off the pavement. That might not sound like much, but it’s the difference between water running off harmlessly and pooling in low spots where it penetrates the surface. In areas that receive several inches of rain during single storms, adequate slope isn’t optional.
The base preparation phase includes installing drainage structures when site conditions require them. Some properties in Polk County need edge drains or specific grading adjustments to handle Central Florida’s heavy seasonal rainfall. We plan these solutions during the evaluation phase, not discovering drainage problems after your asphalt is already installed.
Poor drainage doesn’t just create puddles. Standing water on asphalt surfaces indicates installation problems that should have been addressed during preparation. Water that penetrates through cracks reaches the base layer and causes structural failure—cracks spread, potholes form, and the entire surface deteriorates faster than it should. We handle drainage planning as part of every project because we understand that preventing water problems before they start is easier than fixing them later.
The soil underneath your asphalt determines how your pavement performs long-term. Different soil types require different approaches during the paving process, and Florida’s sandy soils present unique considerations that contractors from other regions often misunderstand.
Sandy soils common throughout Polk County actually work in asphalt’s favor when handled correctly. They provide better drainage than clay soils, which means less water retention that could damage your pavement. But sandy soils also require careful compaction techniques to prevent settling. If the base isn’t properly compacted, you’ll see depressions and uneven surfaces as the soil shifts under the weight of vehicles.
We test soil stability during the evaluation phase. We’re checking how the existing ground responds to pressure and determining whether additional stabilization is needed. Some sites require removing unstable soil and replacing it with compacted aggregate. Others need moisture conditioning before base installation can begin.
The base thickness depends on your soil type and intended use. Residential driveways typically need four to six inches of crushed aggregate base, but sites with weaker soil or heavier anticipated traffic require thicker bases. Commercial parking lots handling delivery trucks need more substantial support than driveways used only by passenger vehicles. We calculate these requirements during the planning phase based on your specific site conditions and how you’ll use the pavement.
Want live answers?
Connect with a Central Florida Blacktop Paving expert for fast, friendly support.
The base layer is the most important part of your asphalt paving installation. It provides the stable surface that supports your pavement, distributes vehicle weight evenly, and prevents the settling and cracking that come from inadequate foundation work.
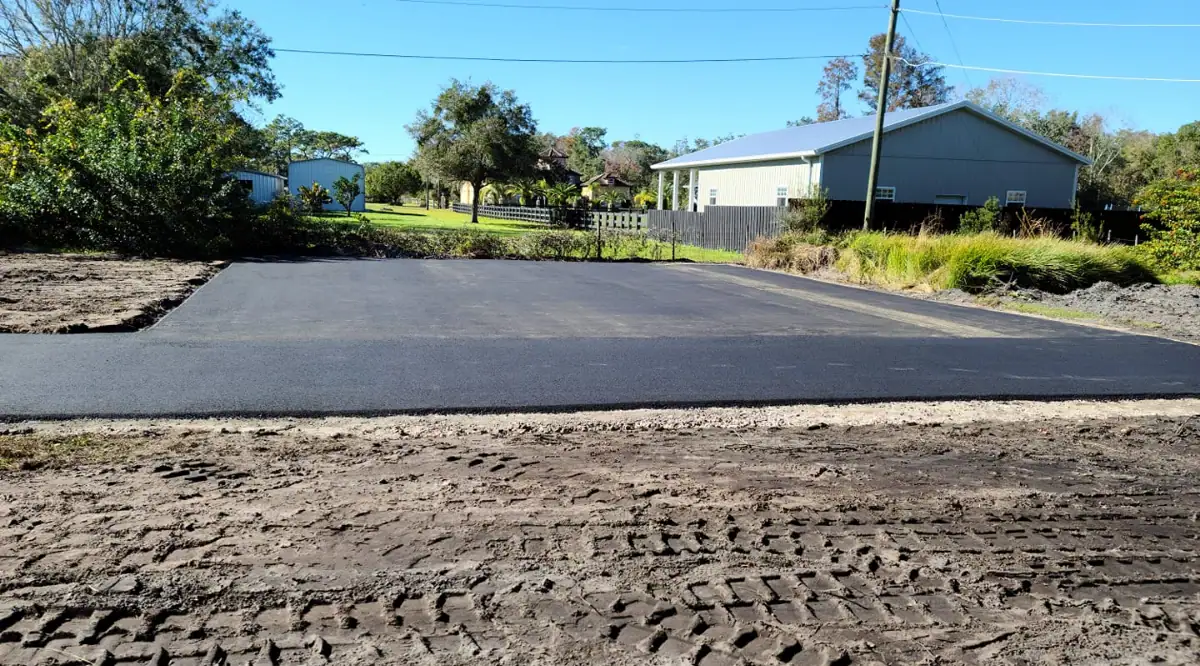
Base preparation starts with excavation. We remove existing surface materials and dig down to create space for both the base layer and the asphalt surface. The excavation depth depends on your project—residential driveways typically need seven to nine inches total depth, while areas with heavy vehicle traffic require deeper excavation to accommodate thicker base layers.
Once excavation is complete, the subgrade gets compacted. This is the existing soil surface that everything else rests on. Proper subgrade compaction is essential because any movement or settling at this level affects everything above it. We use plate compactors or larger equipment to achieve the density needed for a stable foundation that won’t shift under traffic.
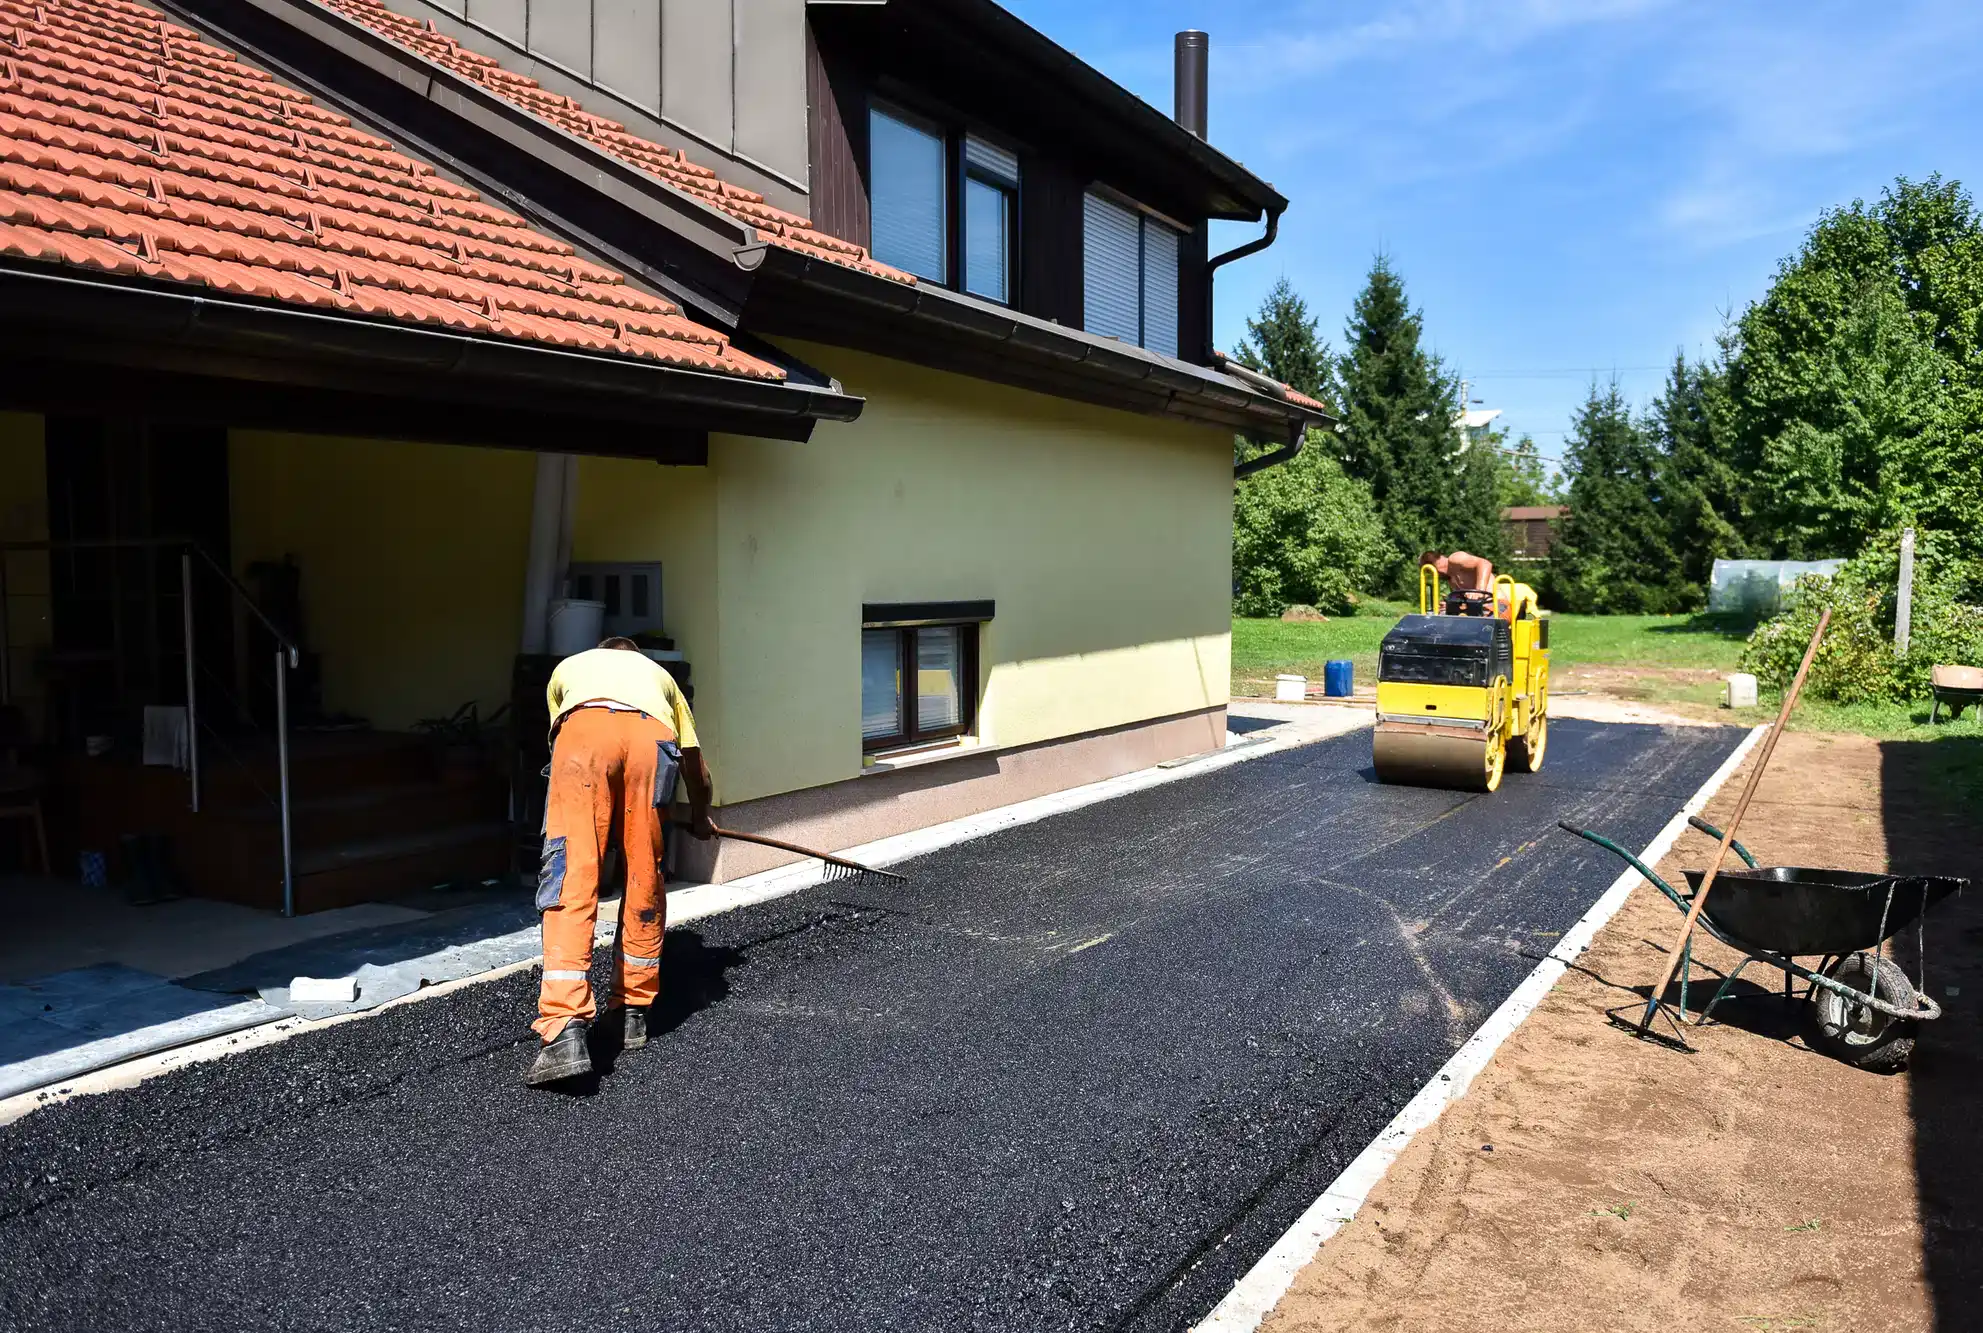
After subgrade compaction, we install the aggregate base layer during this critical phase of the paving process steps. This typically consists of crushed stone or gravel that’s been graded to specific sizes. The material choice matters—well-graded crushed aggregate provides both stability and drainage, creating a solid foundation that water can still move through.
The base gets installed in lifts, not all at once. We spread two to three inches of aggregate, compact it thoroughly, then add the next lift. This layered approach ensures proper compaction throughout the entire base thickness. Each lift must be compacted to the specified density before adding more material. If you skip this step or rush through it, you end up with a base that shifts and settles under traffic.
Compacting asphalt base layers is where experience shows. The aggregate needs to be at the right moisture level—too dry and it won’t compact properly, too wet and it becomes unstable. We understand how to achieve the density needed for long-term stability. We’re using heavy compaction equipment and making multiple passes until the base is firm enough that walking on it doesn’t leave indentations.
Some contractors perform a proof roll after base compaction. This involves driving a heavily loaded truck over the entire base surface to identify any weak spots. If any area flexes more than an inch under the truck’s weight, it means the base needs additional work before asphalt installation can proceed. Areas that fail the proof roll get undercut—we dig deeper, add more aggregate, and recompact until the base is stable enough to support the asphalt surface.
While building the base, we’re also establishing the final grade. The surface needs to slope away from buildings and toward drainage areas. This grading happens during base preparation, not after the asphalt is installed—it’s a fundamental part of the paving process steps that determines long-term performance.
We use laser-guided equipment to achieve precise grades in Polk County. We’re creating slopes that look flat to the eye but actually direct water exactly where it needs to go. In Florida, where afternoon thunderstorms can dump inches of rain in minutes, this precision prevents the water damage that shortens pavement life.
The grading also creates a crown in some installations. Roads and larger parking lots often have a slight crown—higher in the middle, sloping toward the edges. This design moves water off the surface quickly and prevents the center-line pooling that causes premature deterioration. Driveways typically slope in one direction, away from the garage or building entrance.
Proper grading during base preparation is critical because it’s nearly impossible to fix later. Once asphalt is installed, your drainage pattern is set. If the contractor didn’t grade correctly during this phase, you’ll be dealing with standing water and the damage it causes for the life of your pavement. This is why we invest time and technology in getting the grade right before any asphalt arrives on site.
With the base properly prepared and graded, installation moves to the asphalt itself. Hot mix asphalt arrives at your site at temperatures between 275 and 300 degrees Fahrenheit. The material needs to stay hot during installation to achieve proper compaction and bonding.
Timing matters significantly here, especially in Florida. We monitor weather forecasts and avoid paving during rain or when humidity levels will interfere with proper curing. We also avoid the extreme heat of mid-afternoon in summer, when temperatures above 95 degrees make the asphalt too soft to work with effectively. The goal is installing when conditions allow the material to be placed, compacted, and cooled at the right rate.
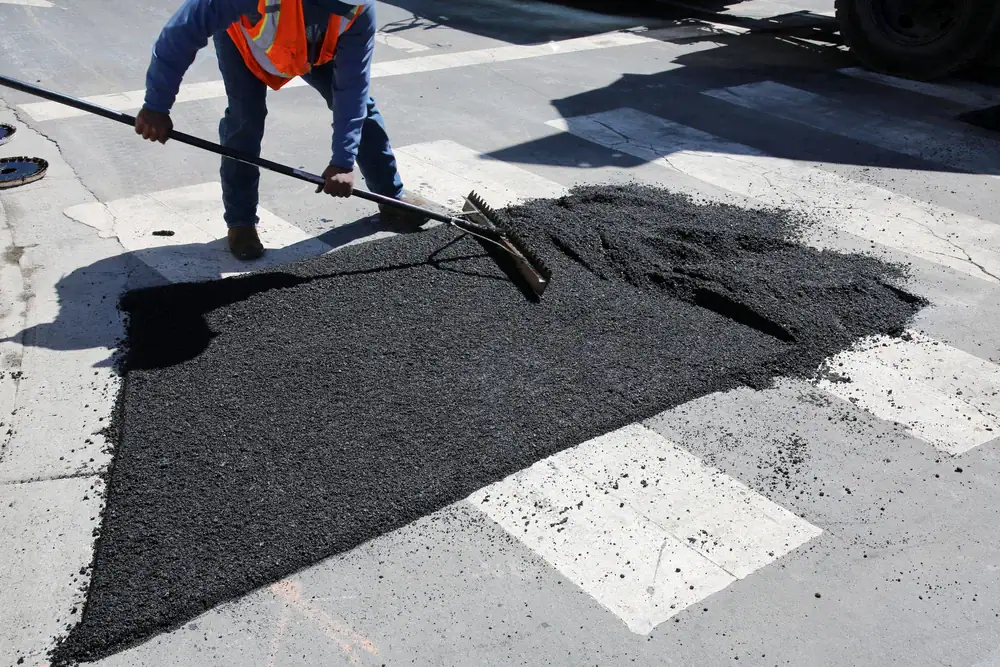
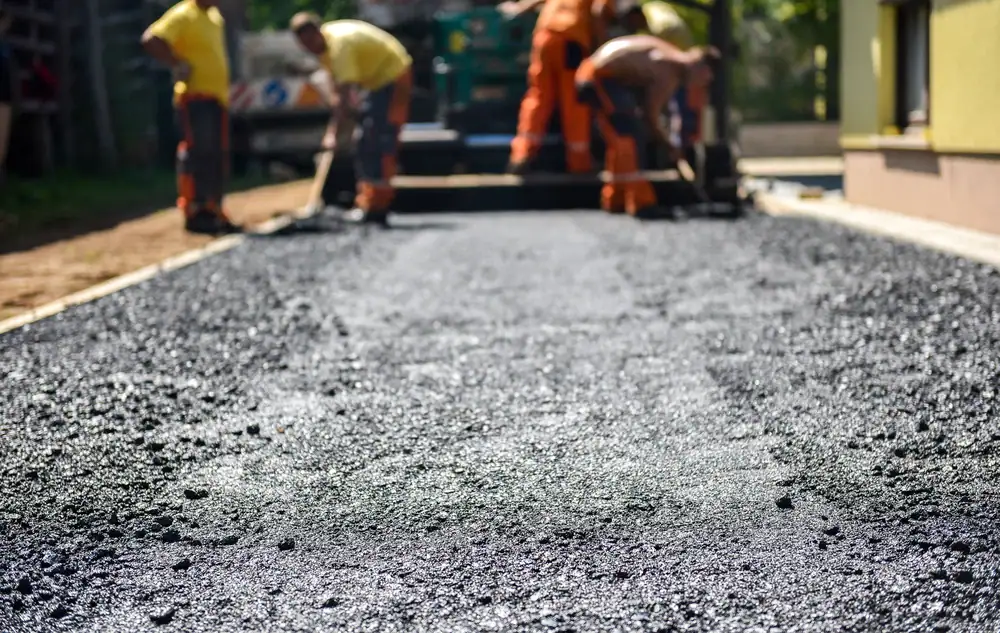
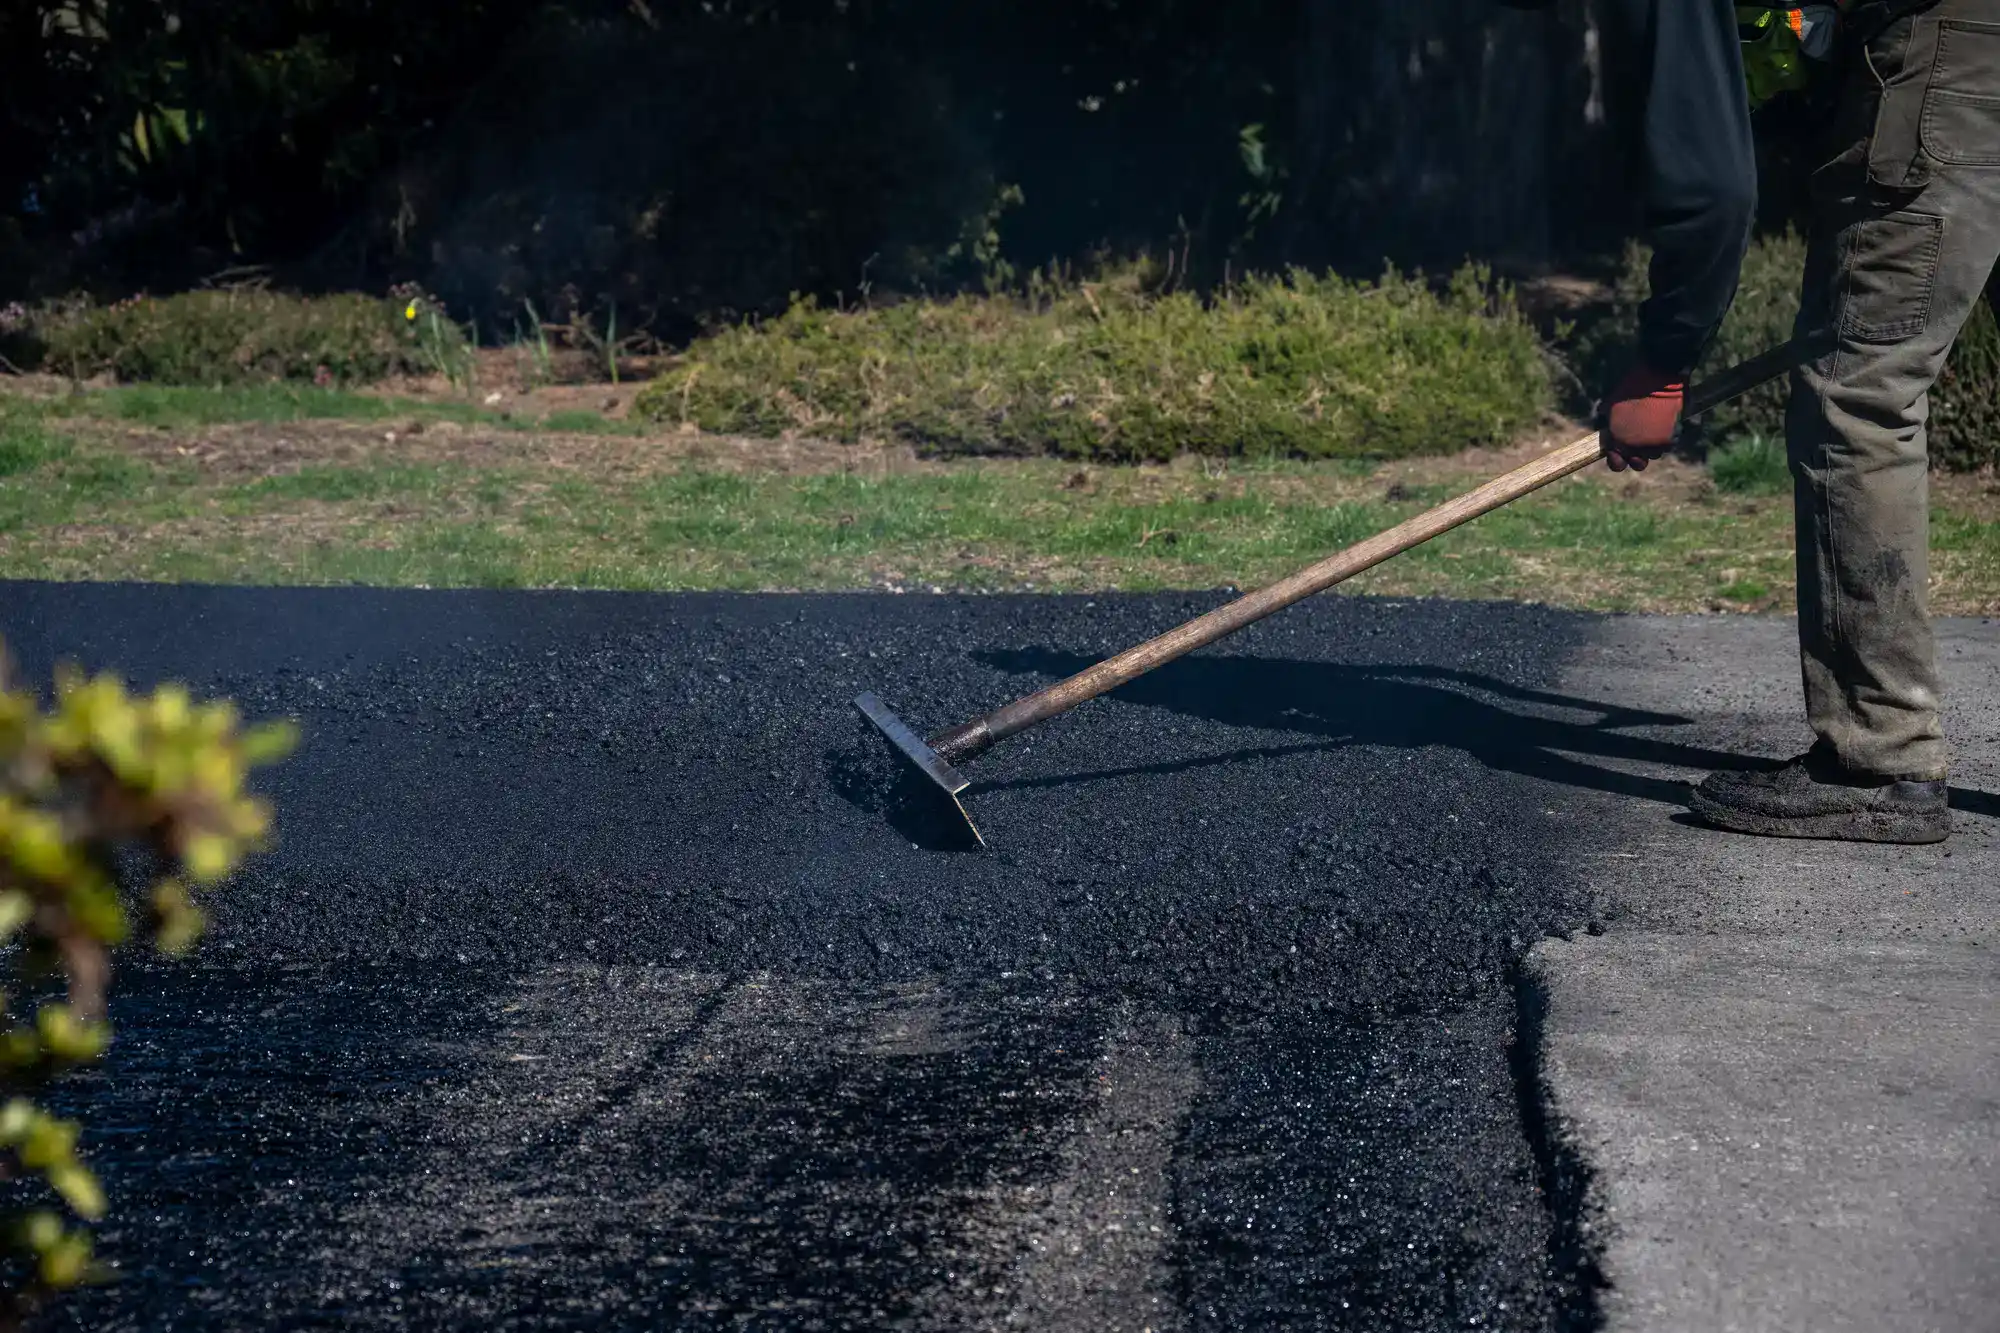
The asphalt gets spread evenly across the prepared base using a paver. This machine distributes the hot mix at a consistent thickness and provides initial compaction through its screed system. For residential driveways, the asphalt layer is typically two to two and a half inches thick. Commercial parking lots often need thicker applications to handle heavier vehicle loads.
Article details:
Share:
Continue learning: